Overview
The HitPay POS Max All-in-One Card Terminal is a comprehensive point-of-sale solution designed for businesses seeking mobility and a feature-rich solution. This standalone terminal offers integrated card payments, in-built printing capabilities, and cellular connectivity.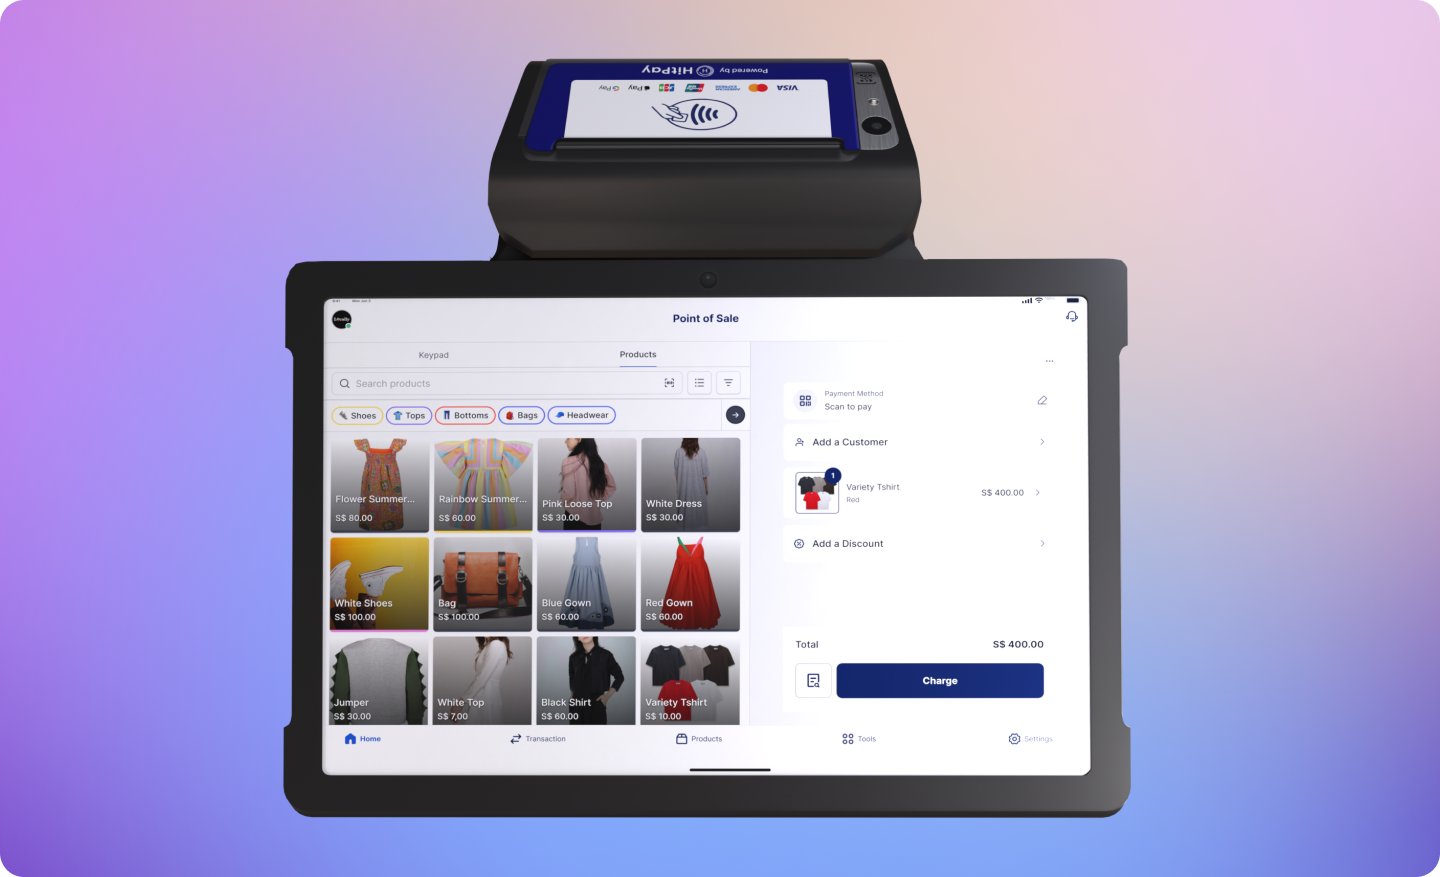
Steps to purchase your HitPay POS Max
- Create a HitPay account
- Successfully complete KYC and onboard onto HitPay
- Reach out to our Sales Team via our Contact Sales form
- Purchase your All-in-One terminal on HitPay’s Terminal Store
Steps to set up HitPay POS Max printer
HitPay POS Max works with 58mm x 40mm printer rolls by default. However you can also use a 80mm x 40 mm thermal printer rolls.
- Open the printer cartridge & insert the printing roll paper in the correct direction.
- Please confirm which printer roll specification you are inserting to the terminal. If you are using 80mm x 40mm, you need to update the settings by going to Settings > SunmiPrinter > Paper Spec : 80mm > OK.
- To test the printer, open the HitPay app. Go to Settings > Printer > SunMi. Tap on “Test Print Connection”.
Steps to set up HitPay POS Card Terminal
- Go to settings > Terminal
- If a popup is displayed to request location permission, click allow.
- The terminal will initiate connection, please wait until this is completed.
- When the terminal shows “Connected”, tap on “Done”.
Steps to set up HitPay POS Max barcode scanner
- Go to Settings > System > “Scanner Setting” > “App Settings”
- Enable the Virtual floating button
- Under the Basic Settings Please set :
- Scan setting => “Short press to scan continuously” with the default interval time of 500(ms)
- Output method setting : “No direct output”
- Test by pressing the virtual floating button, it should turn on the infrared barcode reader
- Upload products on to HitPay & start scanning products to add to cart
Steps to connect the HitPay POS Max to an external Barcode Scanner device?
Steps:- Connect your barcode scanner to your HitPay POS Max via USB / Bluetooth
- Ensure that your barcode scanner is connected and able to submit a successful output. You can test this out by scanning a barcode on a Notes taking app.
- Navigate to Point of Sale > Products.
- Scan a barcode, the search function will output the scanned item and add a product to cart if a product is found.
Supported Barcode Types
1D Barcode Types- Code 128
- Code 39
- Code 39 Mod 43
- Code 93
- EAN-13
- EAN-8
- Interleaved 2 of 5
- ITF-14
- UPC-E
- Aztec
- Data Matrix
- PDF417
Steps to insert SIM card
The HitPay POS Max features dual Nano SIM card slots for cellular connectivity, allowing you to process payments even when Wi-Fi is unavailable.- Locate the SIM card slot: The SIM card slot is typically located on the side or back of the device. You may need to remove the battery cover to access it.
- Power off the device: Before inserting the SIM card, ensure the device is powered off to prevent any potential damage.
-
Insert the Nano SIM card:
- Hold the Nano SIM card with the gold contacts facing down
- Align the SIM card with the slot, ensuring the notched corner matches the slot orientation
- Gently push the SIM card into the slot until it clicks into place
- If inserting a second SIM card, repeat the process for the second slot
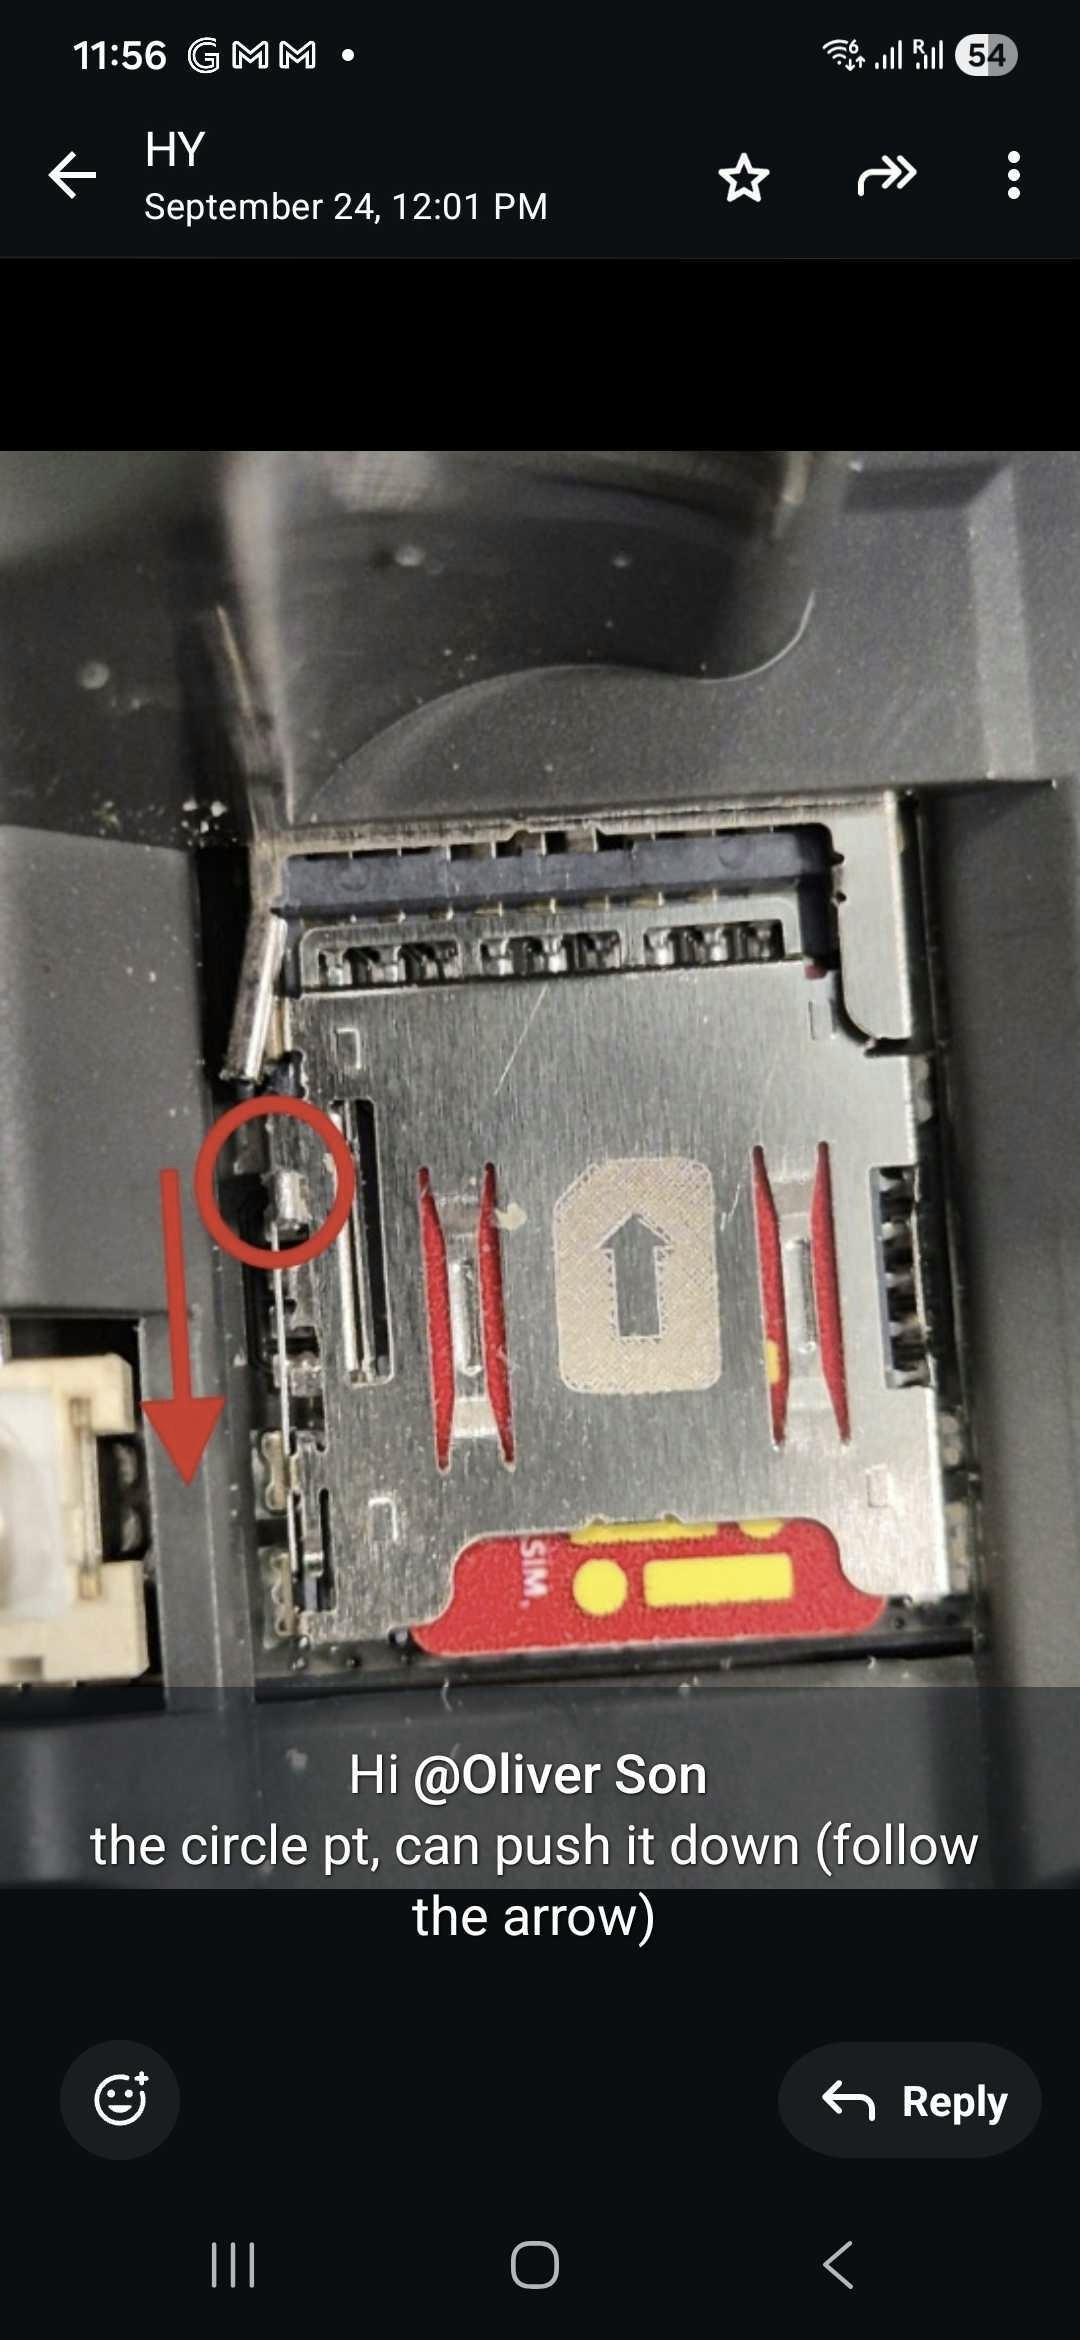
- Locate the release mechanism: To the left of the SIM card slot, you’ll find a small metallic pin or button
- Press down the release pin: Push down the circular pin/button (follow the arrow direction) to unlock the SIM card slot
- Insert the SIM card as described above
- Release the pin/button to lock the SIM card in place
- Go to Settings > Network & Internet > Mobile network
- Check that the SIM card is detected and shows signal strength
- Ensure mobile data is enabled if you plan to use cellular connectivity
The HitPay POS Max supports dual Nano SIM cards, allowing you to use two different carriers for redundancy or to have separate data plans. You can configure which SIM card to use for data in the device settings.
Specifications
Please contact us support@hit-pay.com if you have any questions.