All-in-One Terminal is available in Singapore, HongKong.
Overview
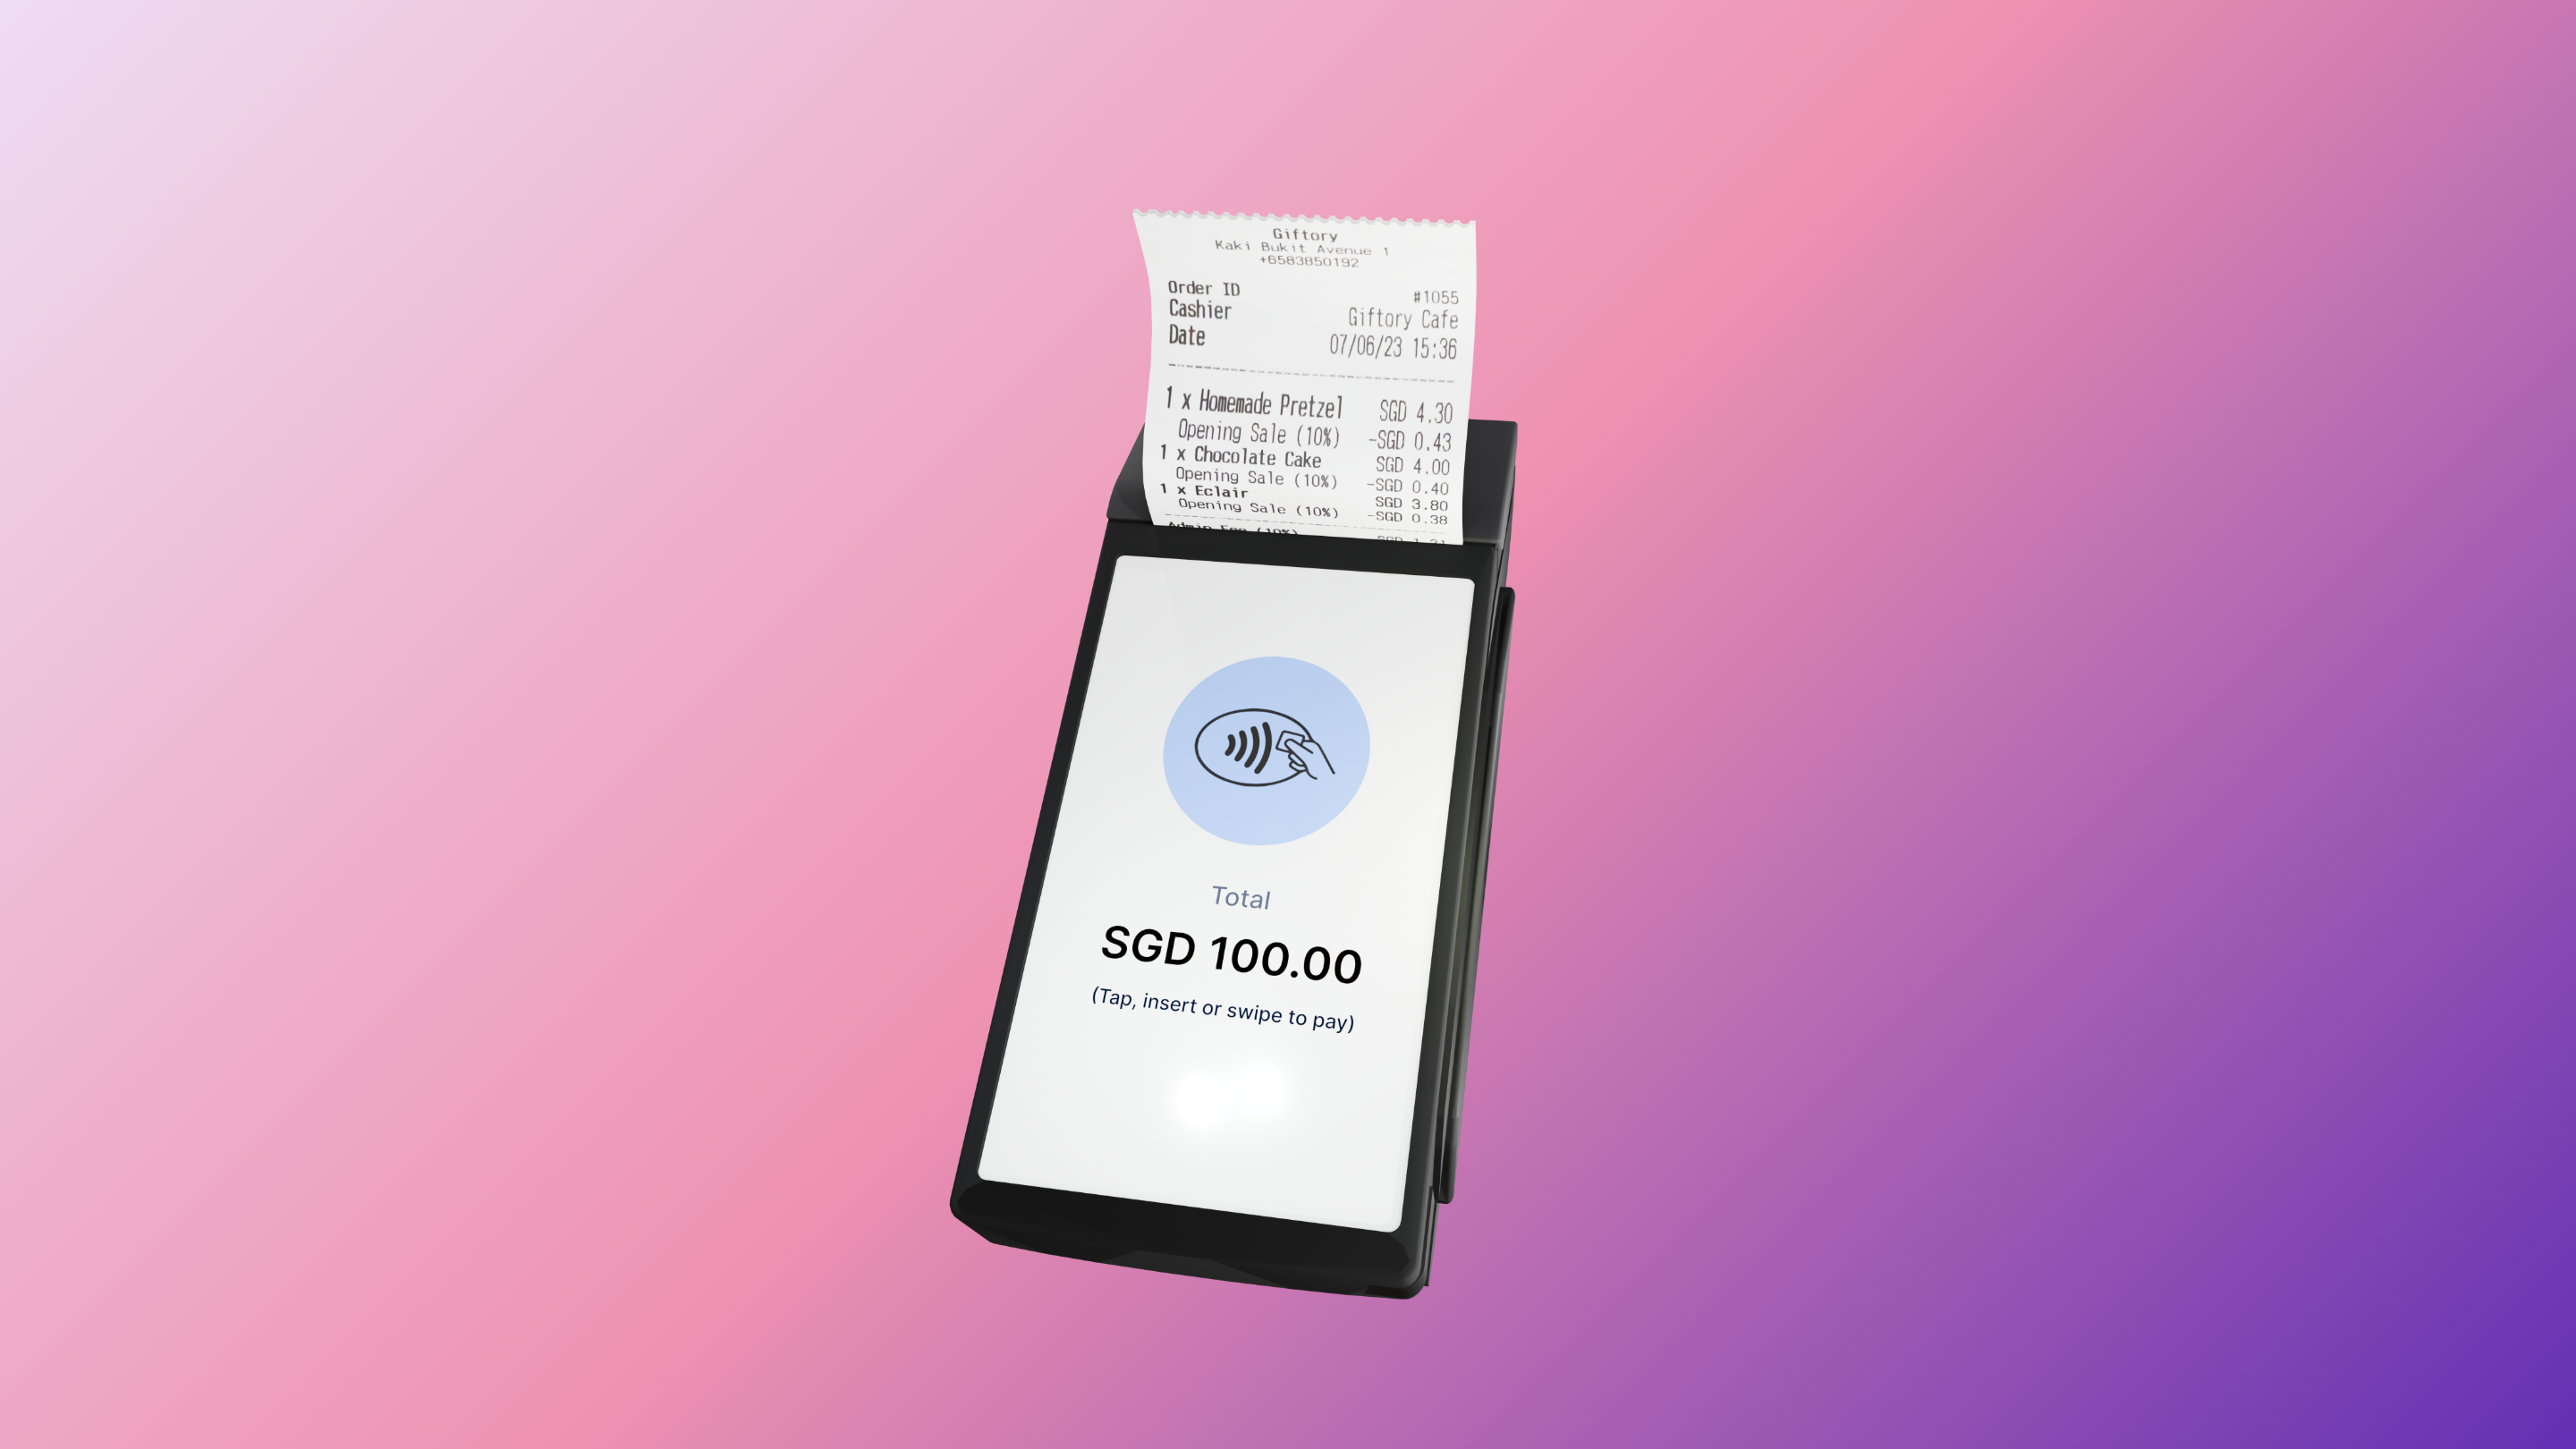
The HitPay S1F2 is a portable, all-in-one POS terminal with:- Built-in card payments
- Integrated receipt printing
- Wi-Fi and cellular connectivity support
Steps to get your All-in-One Terminal
- Sign up for a HitPay account
- Complete your KYC and get approved.
- Contact Sales to enable Cards (by Adyen)
- In your HitPay Dashboard: Settings > Payment Methods > Select “Turn On” for “Cards (by Adyen)”
- Complete onboarding for Cards (by Adyen).
- Purchase the terminal
- Your terminal will be shipped to you — you’re ready to go!
Steps to Set Up
- Insert the battery. Use the provided cable to charge via the port with the lightning symbol.
- Power on the device (left-side button).
- On the Homepage: Settings > Network > Enter passcode 0000 > Wi-Fi > Connect
- Leave the terminal on and connected for ~1 hour. The HitPay app will auto-install.
- Once installed: Open HitPay App > Log in > Settings > Check Reader Connection > Select “Adyen POS” > Select terminal based on your Serial Number
Steps to Accept a Payment
To accept payment, follow these steps below :
- Standalone Mode
- Complete the setup steps above.
- Open the HitPay app and log in.
- Enter the amount and tap Charge. (Optional) Add invoice number, remarks, or description.
- Choose Card Terminal as the payment method.
- Tap, swipe or insert the customer’s card. Wait for success confirmation.
Set Up your Printer Settings (Auto/Manual)
- Open HitPay app.
- Go to Settings > Printer.
- Click on the Printer Settings (Gear Icon) on the top right of the page.
- Choose to enable/disable the automatic receipt printing by turning on/off the toggle.
- If you selected Automatic, select the number of receipts to be printed. If you are printing more than 1 receipt, you can set the time delay between each prints. If you selected Manual, tap “Print” after each transaction.
- Once you’ve configured your preferences, click on the “Save” button to apply the changes.
Specifications
Troubleshooting Wi-Fi Connection
Reader is unable to connect
To check connectivity, go to the Device homepage, then select “Settings”, choose “Network”, enter passcode “0000”, choose “Wifi” and connect to your Wi-Fi network.- Make sure the Wi-Fi network is connected and has internet access.
- The signal strength is good.
FAQs
- What do I do if I get the error “Could not process the payment. Please check the connection.”
Make sure terminal is connected to WiFi (preferably, since there’s connection issue)/Hotspot using a mobile device instead of using the cellular. Go to Settings > Configuration > Update. Passcode is “0000”.Please contact us support@hit-pay.com if you have any questions.