Overview
Welcome to the Account Creation process for HitPay! In this guide, we’ll walk you through the steps to create your HitPay account, enabling you to seamlessly manage your business transactions and payments. Whether you’re new to HitPay or looking to set up a test account, we’ve got you covered.- Sign Up: To begin your journey with HitPay, please visit our Sign Up Page and get started on unlocking a world of streamlined payment solutions.
- Singapore
- Malaysia
- Philippines
- Thailand
- Indonesia
- Hong Kong
- New Zealand
- Australia
Other countries’ signups are now on waitlist. For more information, please
contact the support team.
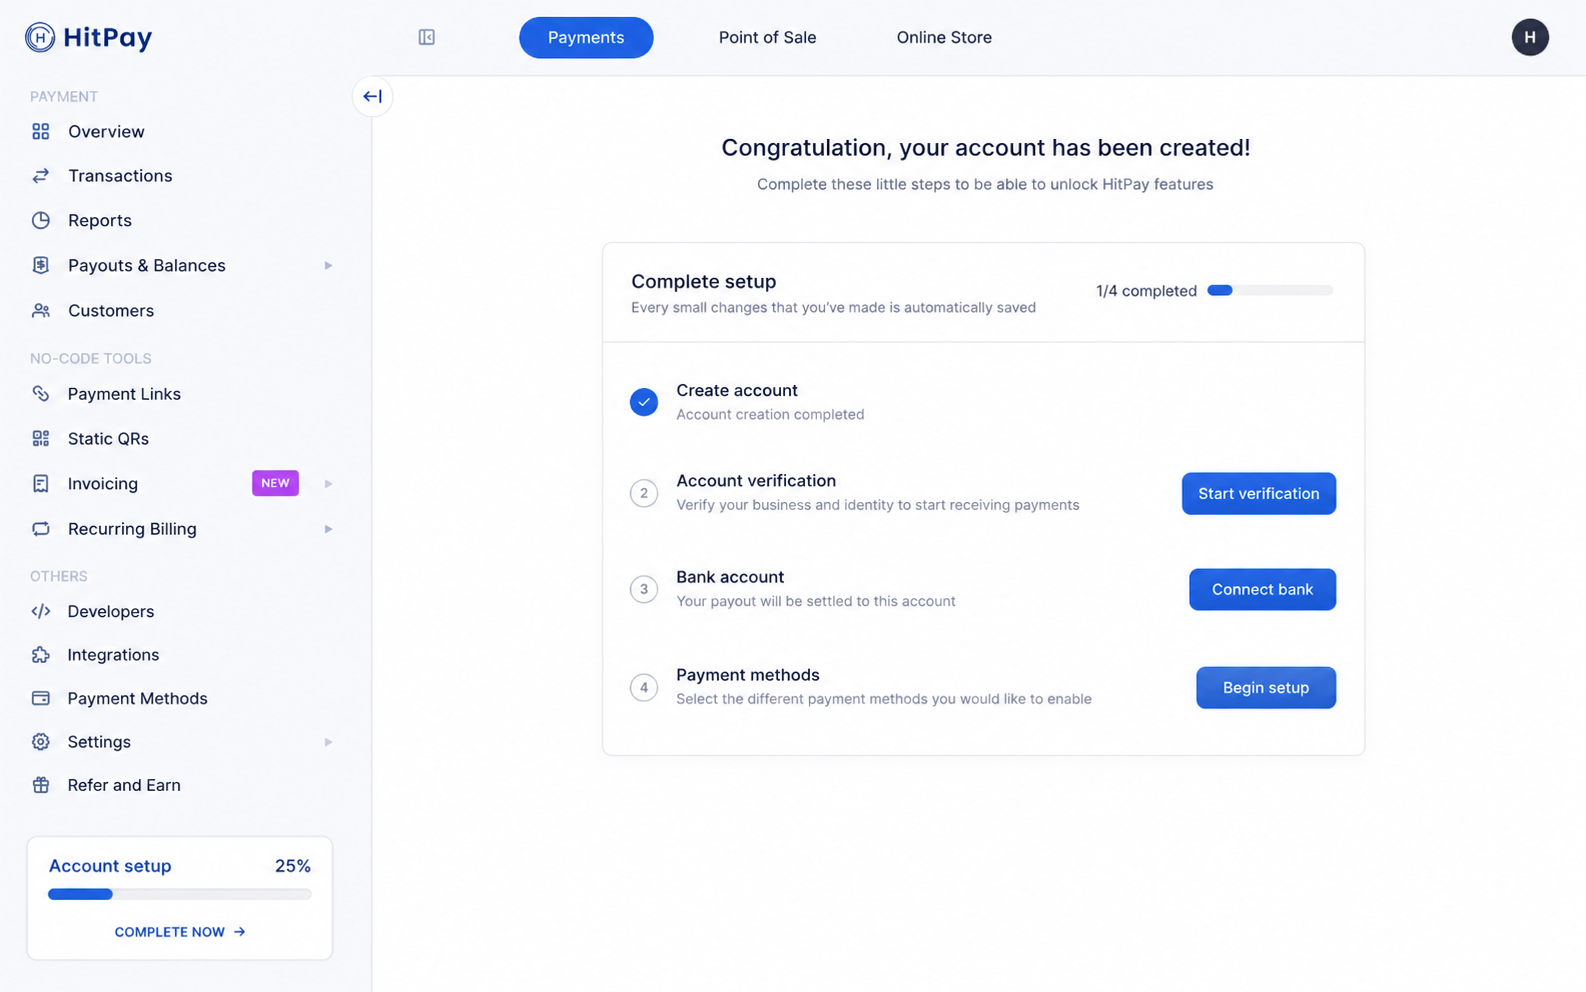
1
Create account
Complete account creation by selecting your country and registering. This
choice is permanent once confirmed. Visit our Sign Up
Page to get started.
2
Account verification
Verify your business and identity so you can start receiving payments. Click
Start verification on the setup checklist, then provide business
details, complete owner verification (including selfie and liveness checks
where required), and submit your application for approval.
3
Bank account
Connect the bank account where your payouts will be settled. Use Connect
bank when this step becomes available after verification progresses as
required.
4
Payment methods
Choose which payment methods you want to enable for your customers. Select
Begin setup to configure the options that fit your business.
Account Security
Shared Responsibility
Learn about the shared responsibility model for account security and best
practices for maintaining secure access.
Two-Factor Authentication
Set up two-factor authentication to add an extra layer of security to your
HitPay account.
FAQs
Unable to Complete Owner Verification?
Unable to Complete Owner Verification?
If you encounter difficulties during the owner verification process, please ensure that you’re following the guidelines provided in the verification instructions. Make sure the selfie is clear and that you’re in a well-lit environment. If issues persist, reach out to our dedicated support team for prompt assistance.
I do not have a website, what do I enter?
I do not have a website, what do I enter?
If your business does not have a website, please use your social media links.
Can I change my account type (Business/Individual) after signing up?
Can I change my account type (Business/Individual) after signing up?
No, you cannot change your account type once the verification process has been completed based on your selected account type. If your verification is still pending, you can contact our support team to request a change.
How can I delete my HitPay account?
How can I delete my HitPay account?
Only the business owner can delete a business. To delete your HitPay account:
- Go to Settings → Business Details
- Scroll down to the Danger Zone section
- Click Delete Business
How can I change my email address?
How can I change my email address?
To change your email address: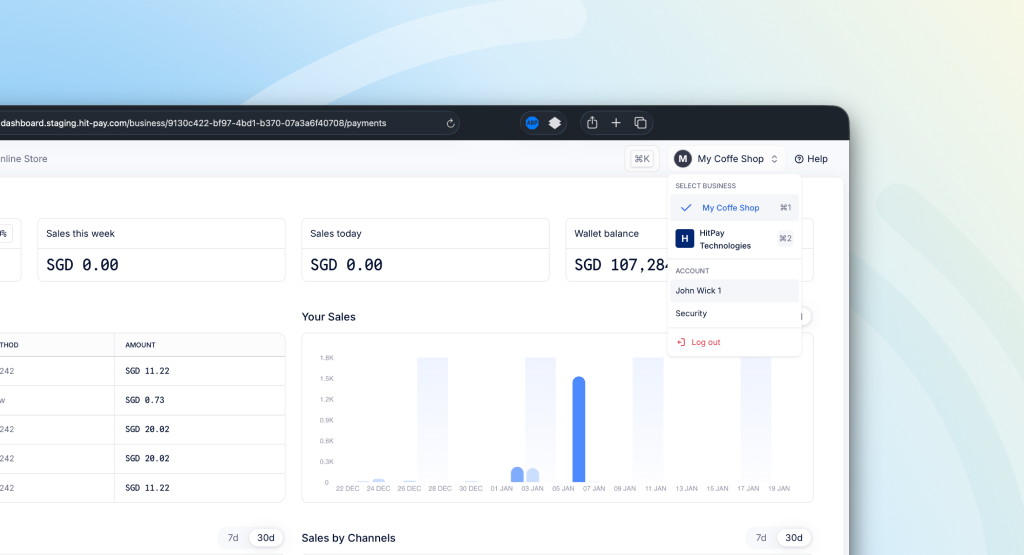
- Click on your account avatar in the top right corner
- Select Account from the dropdown menu
- Click on Change Email to update your email address