- HitPay app on iOS
- HitPay app on Android
- FlexiPOS standalone terminals
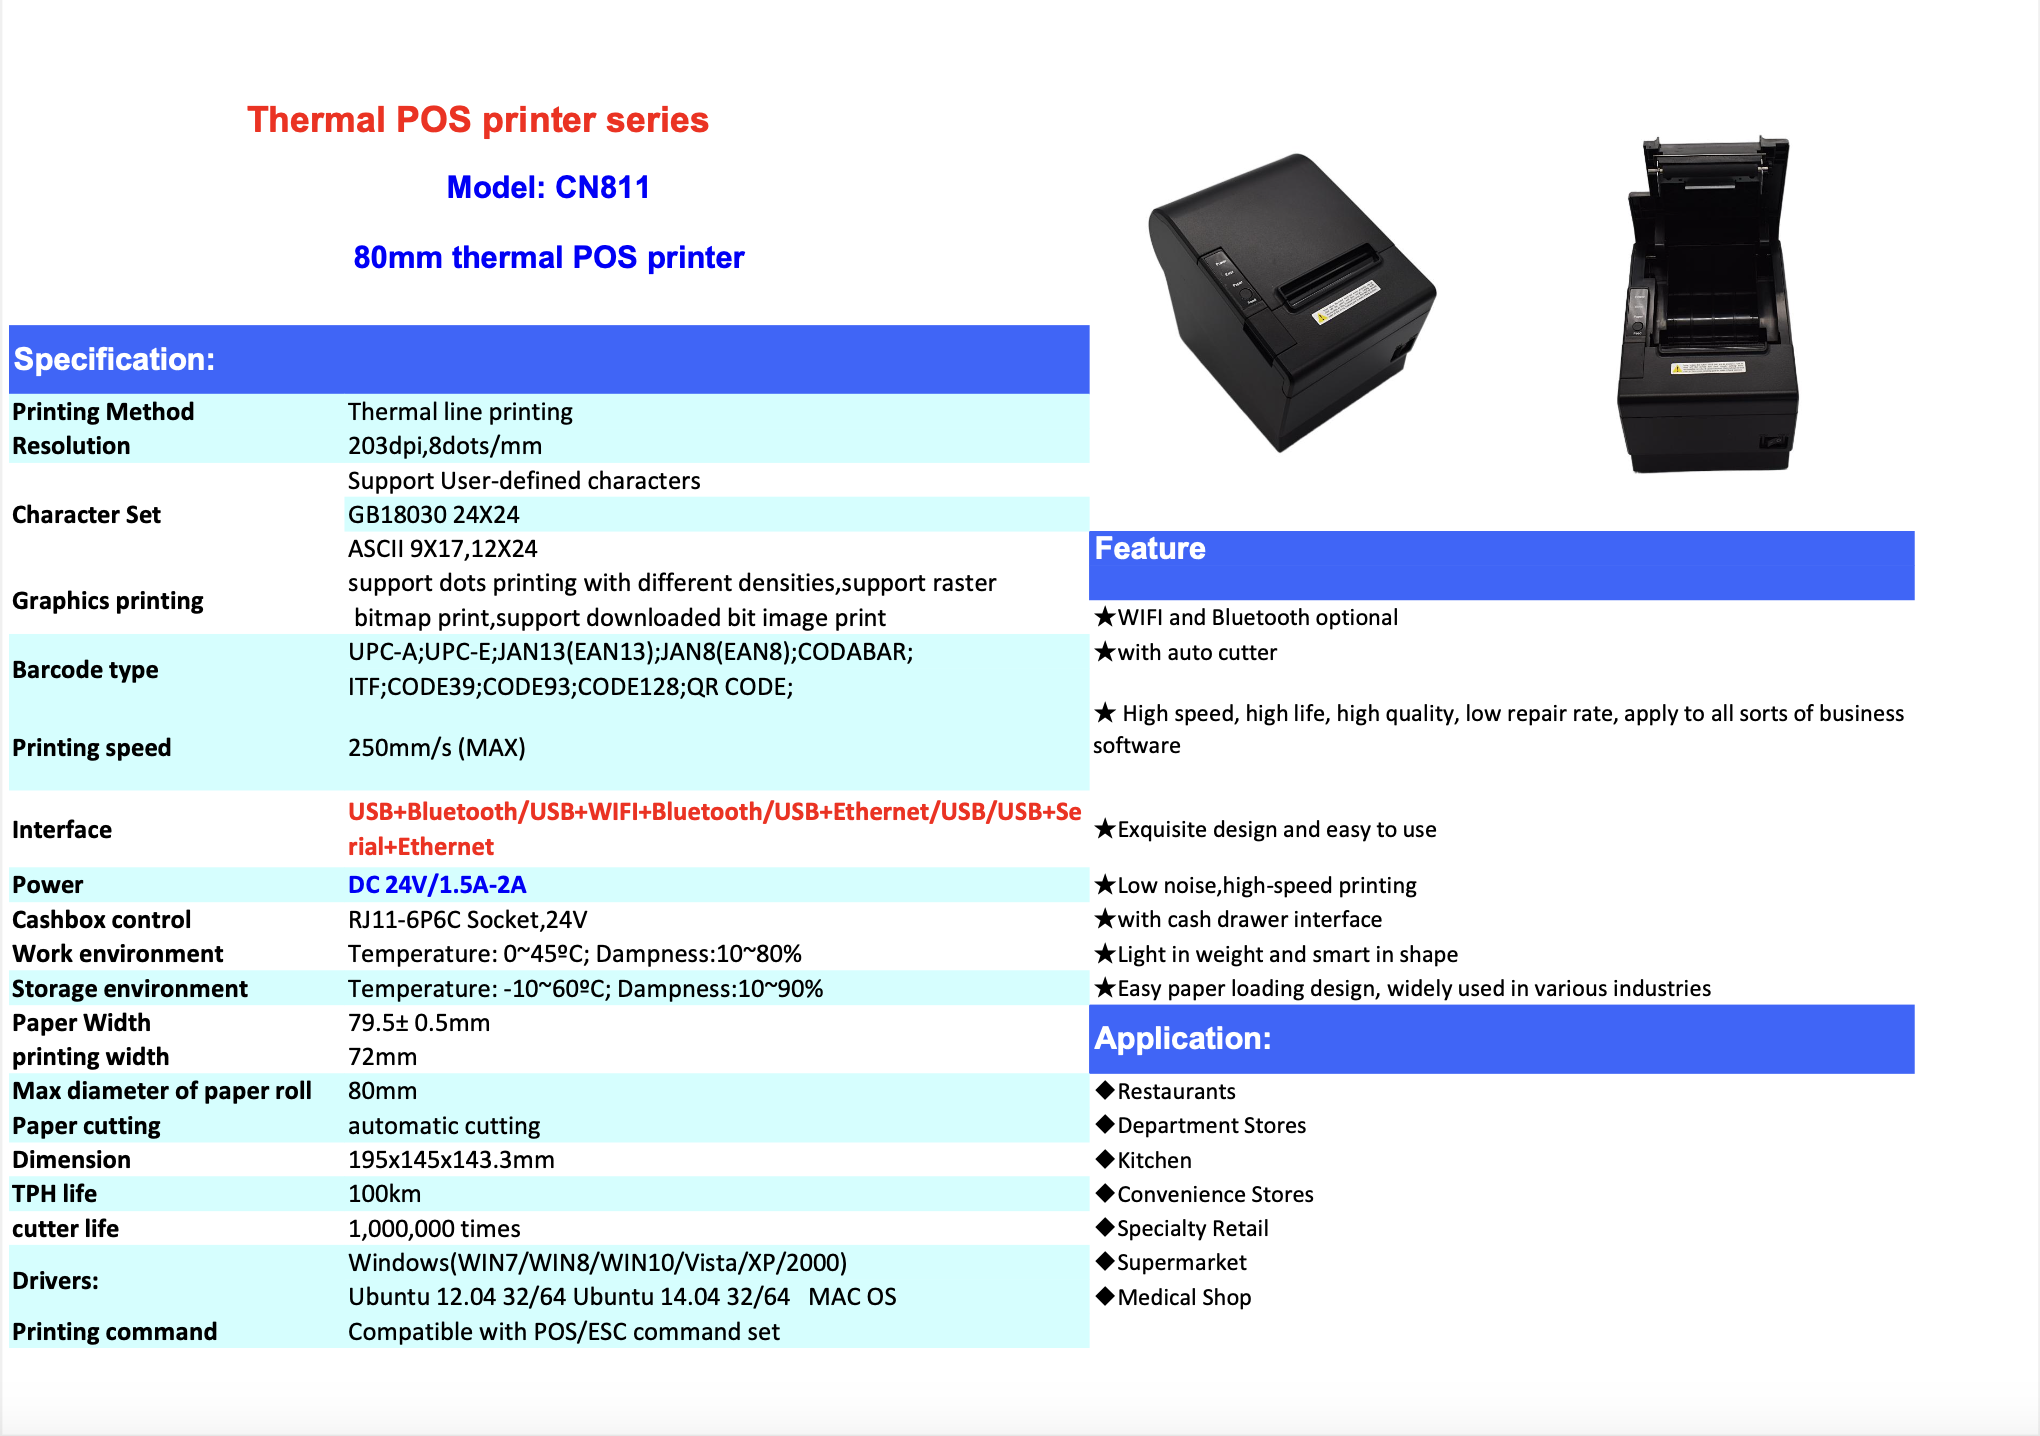
- Paper width: 80mm
- Paper roll diameter: 80mm max
How to connect your Advanced Receipt Printer?
Part 1 : Connect your HitPay POS to a Wi-Fi network
Here’s how you can connect HitPay POS to Wi-Fi- For HitPay app on Android / iOS, ensure that your device is connected to shared wifi network.
- For HitPay app in Standalone Terminal, go to Settings > Check Reader Settings > Enter PIN : 07139 > Select Network.
If your network has both 2.4 GHz and 5 GHz Wi-Fi, connect to the 2.4 GHz network.
Part 2 : Connect the HitPay Advanced Receipt Printer to the same Wi-Fi network
- Download the “Print Genius” app from appstore / playstore to help configure Wi-Fi network of the printer
Download Print Genius on iOS
Download Print Genius on Android
- Select Set Wifi (Via Bluetooth)
- The app will discover the printers in the area. Please select the HitPay printer (CN811-UWB)
- Enter the Wi-fi Name & Wi-fi password that is already used by the HitPay POS/Terinal & click “Set Wifi”.
- On click “Set success” click close.
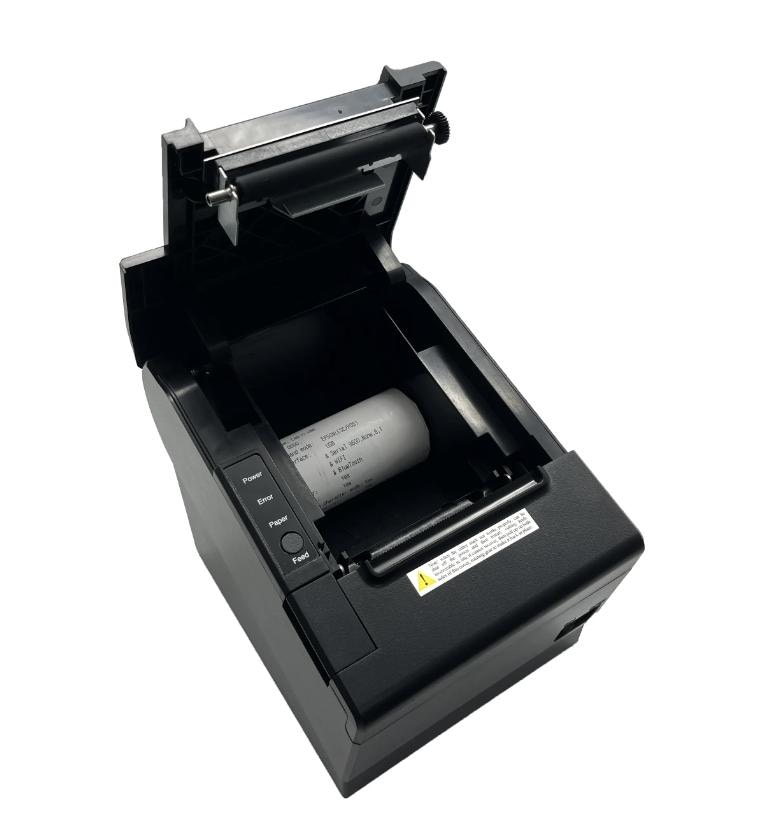
- After setting is successful, restart the printer by switching the power button. Please restart the printer so that printer can be connected to new wifi.
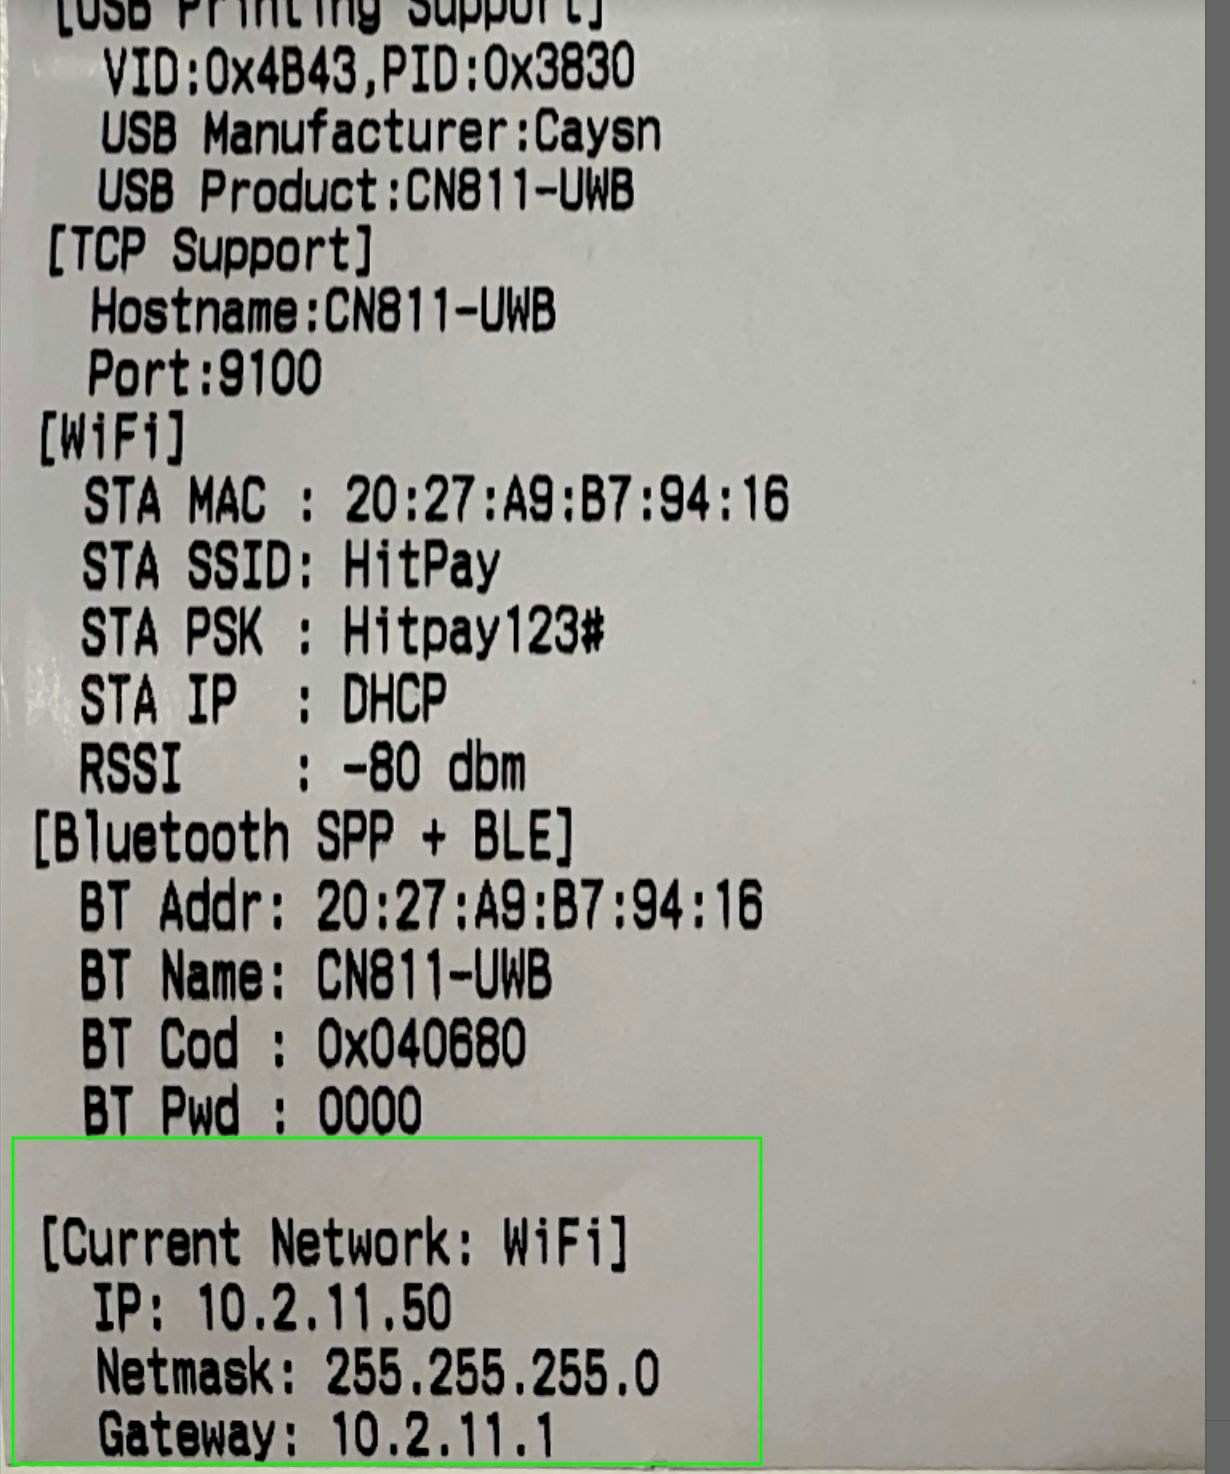
- To check whether the printer is successfully connected to the new Wi-Fi, please generate a “Diagnostic Test” print. This can be done by double tapping the “Feed” button OR holding the “Feed” button while turning the printer on. If the printer is succesfully connected, you will be able to see the “[Current WiFi]” section in the slip below the bluetooth section. Please refer to the image below :
Part 3 : Connect your HitPay POS to the Advanced Receipt Printer (WifI)
- Go to HitPay app on the POS / Terminal, Navigate to Settings > Hardware > Printer
- Select “Add device”
- Enter printer name and select ” HitPay Advanced Receipt Printer”. For the connection type, select “Wifi”.
- Click on “Discover Printer” and select the printer that is discovered within the same network.
- Select how this printer is going to be used for : Customer receipts, Order tickets, or Both.
- To test whether printer is connected successfully, you can click on “Test print”. If printing is successful, click “Save”.
HitPay Advanced Receipt Printer Specs