Account Setup
Before you begin integrating HitPay payments into your Odoo Store or POS, you need to set up your HitPay account and ensure some prerequisites are met:- If you haven’t already, create an account on HitPay.
- Ensure that you have the necessary payment methods activated in your HitPay account.
- Make sure the payment methods you want to offer are enabled in your Odoo sales channel.
Odoo eCommerce Integration
Installation
- Odoo 18: Click on this LINK to install HitPay on your Odoo Store.- Odoo 17: Click on this LINK to install HitPay on your Odoo Store.
- Odoo 16: Click on this LINK to install HitPay on your Odoo Store.
- Odoo 15: Click on this LINK to install HitPay on your Odoo Store.
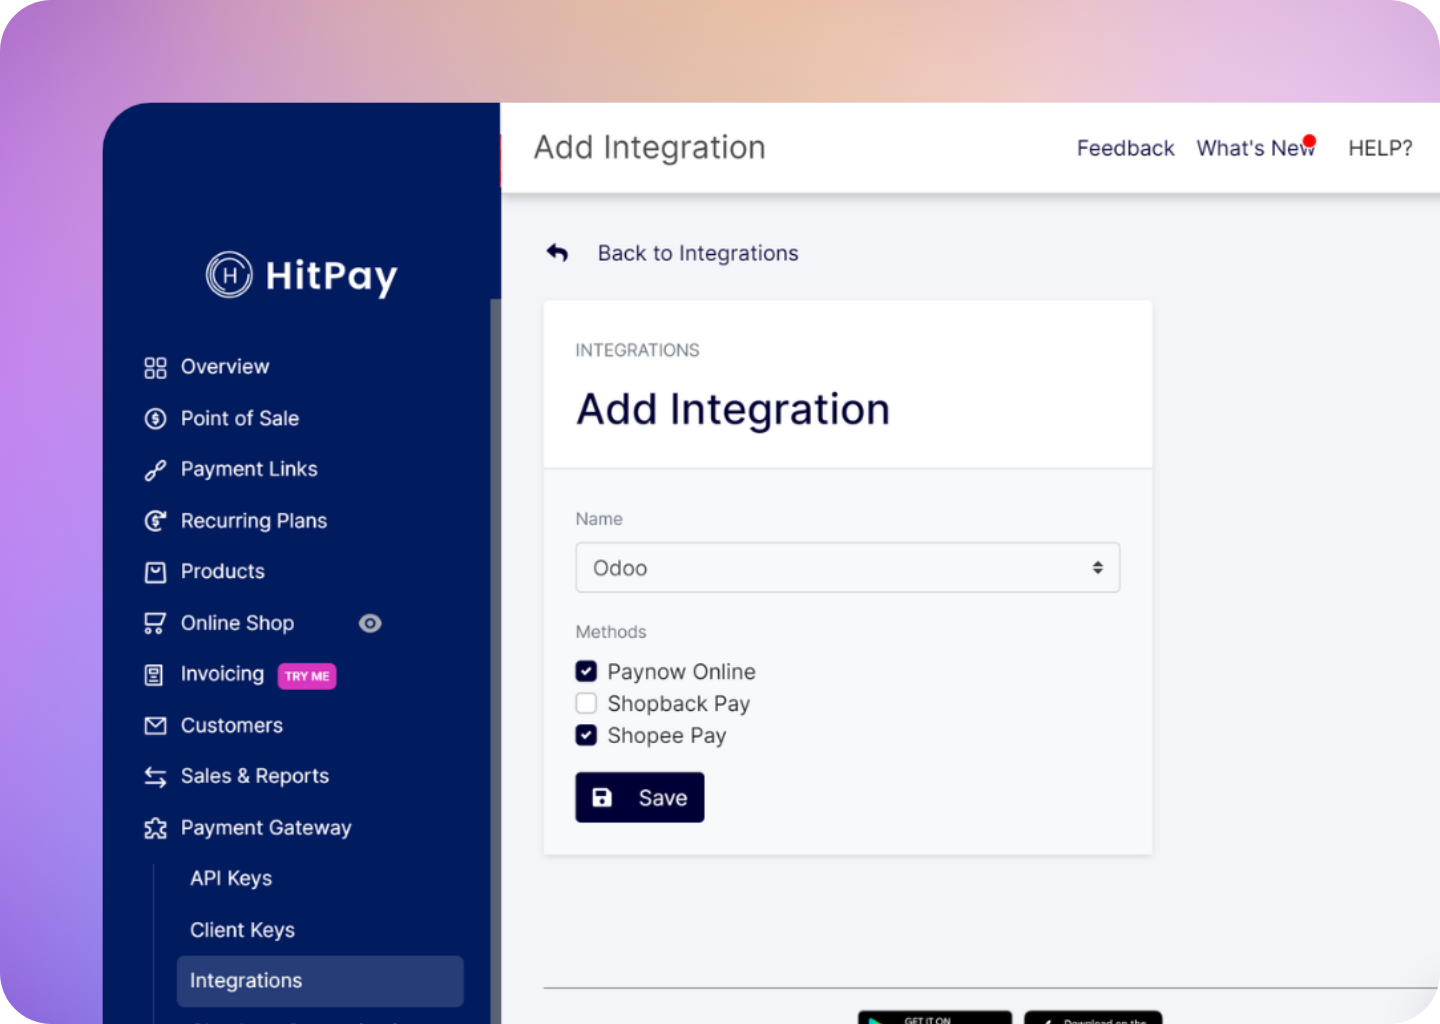
After following the installation guide on Odoo, ensure that you complete your Integration Settings for Odoo to complete the integration to your website:
Odoo POS Integration
Integrate HitPay into your Odoo Point of Sale (POS) to accept in-person payments using a card reader.Supported Versions
The HitPay POS plugin is supported on the following Odoo versions:- Odoo POS 16
- Odoo POS 18
- Odoo POS 19
Installation
The HitPay plugin for Odoo POS can be found at: https://github.com/hit-pay/odoo-extension/tree/16.0/pos_hitpay Follow the installation instructions provided in the GitHub repository.Configuration in Odoo Admin
After installing the plugin, follow these steps to configure HitPay in your Odoo admin:- Go to the “Point of Sale Admin” tab.
- In the “Configuration” section, click on the “Payment Methods” menu.
- Click the New button to add HitPay POS as a payment method.
- Enter the following details:
- Title for the Payment option
- Set Payment Journal as Bank
- Select “Use a Payment Terminal” as ‘HitPay Payment Gateway’
- Enter the HitPay Payment Gateway credentials
- Enter the hitpay terminal ID from your HitPay dashboard
- Navigate to the Settings page.
- In the Point of Sale settings page, add ‘HitPay Payment Gateway POS’ to the available payment methods for POS Checkout.
- Return to the “Point of Sale Admin” tab and click “New Session” to start using HitPay POS.
Processing Refunds
To process refunds using HitPay POS:- In the order view page, click the “Return Products” button.
- Click the Payment Button.
- In the popup, select “Hitpay Payment Gateway POS” as the refund payment method.
- Click the ‘Make Payment’ button.
- Enter the amount to refund (the amount should be negative).
Ensure that you have the necessary permissions and have configured your HitPay account to process refunds before attempting this process.