Overview
The order confirmation gives POS users a flexible form that can be filled up before completing the purchase. HitPay allows you to customize this page to suit your business needs, enabling you to add extra questions, adjust phone number and remarks options, and create a tailored experience for your customers.
Enabling the order form to be displayed at POS checkout
- Navigate to your POS app > More > Orders > Settings.
- Ensure that “Enable order form on POS” toggle is on.
How to set up the order form
Accessing Order Customisation settings
From the Web :- Log in to your HitPay Web Dashboard.
- Navigate to Online Shop > Store Settings.
- Log in to HitPay app
- Navigate to More > Orders > Settings
Adding Questions
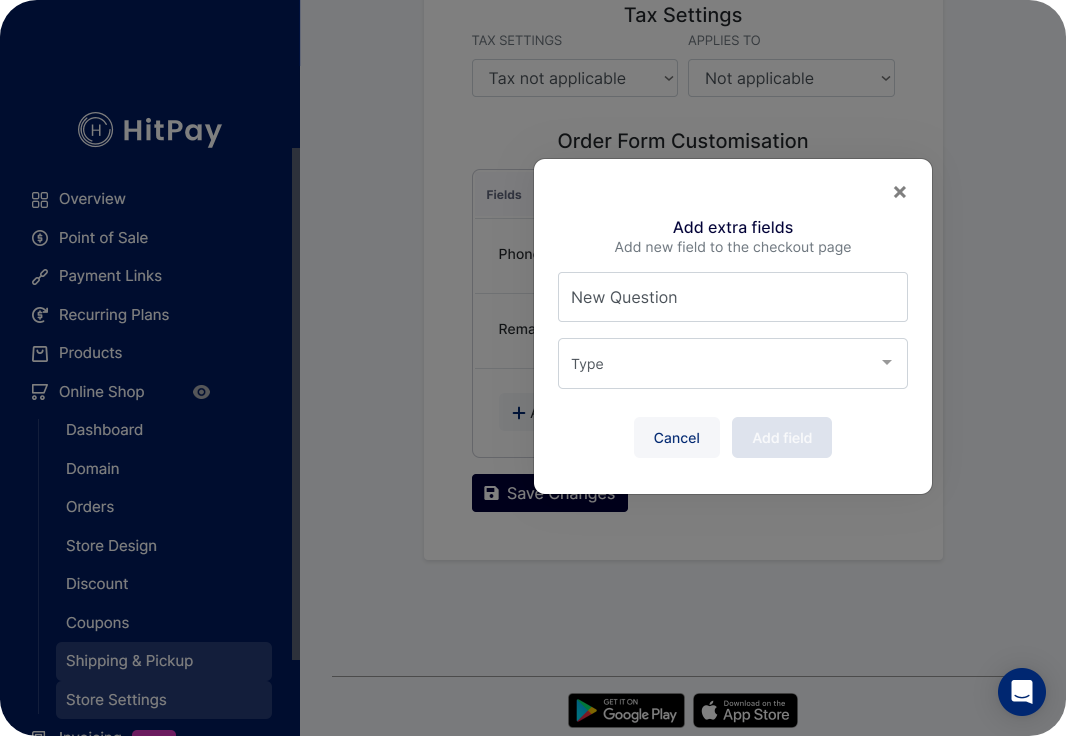
To add extra questions to the order confirmation page, click on Add additional field in the Order Form Customization section. A pop-up window will appear, prompting you to enter a Question Title and select a Question Type from the available options:- Text: Customers can provide short text-based answers.
- Long Text: Customers can provide longer text-based answers.
- Dropdown: Customers can select an option from a predefined list.
- Radio: Customers can choose a single option from a predefined list.
- Checkbox: Customers can select multiple options from a predefined list.
Review and Testing
Once you have made the necessary changes and additions, click Save Changes to save your customizations. To observe how your customized order confirmation form looks, go to your Storefront and visit the Order Confirmation page.Adding the order form at checkout
- If shipping / pickup enabled, order form displayed on click of “Next”
- If sihping /pickup not enabled, order form button will be displayed
- click on order form, the order form will dynamically display list of questions and options based on your settings
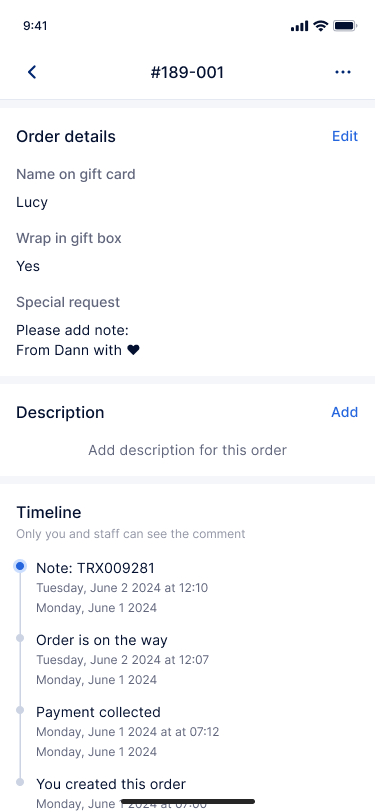
- After completing the order, you will be able to view the order information in the Order details