> ## Documentation Index
> Fetch the complete documentation index at: https://docs.hitpayapp.com/llms.txt
> Use this file to discover all available pages before exploring further.
# Locations
> Learn how to manage multiple business locations in your POS system
## Overview
HitPay's multi-location management feature allows you to streamline sales across different stores and effortlessly track payments within a unified platform. This guide provides step-by-step instructions on creating, assigning team members to, and utilizing specific locations within the HitPay app. With multi-location support, you can better manage your business's sales operations and gain valuable insights across various physical locations.
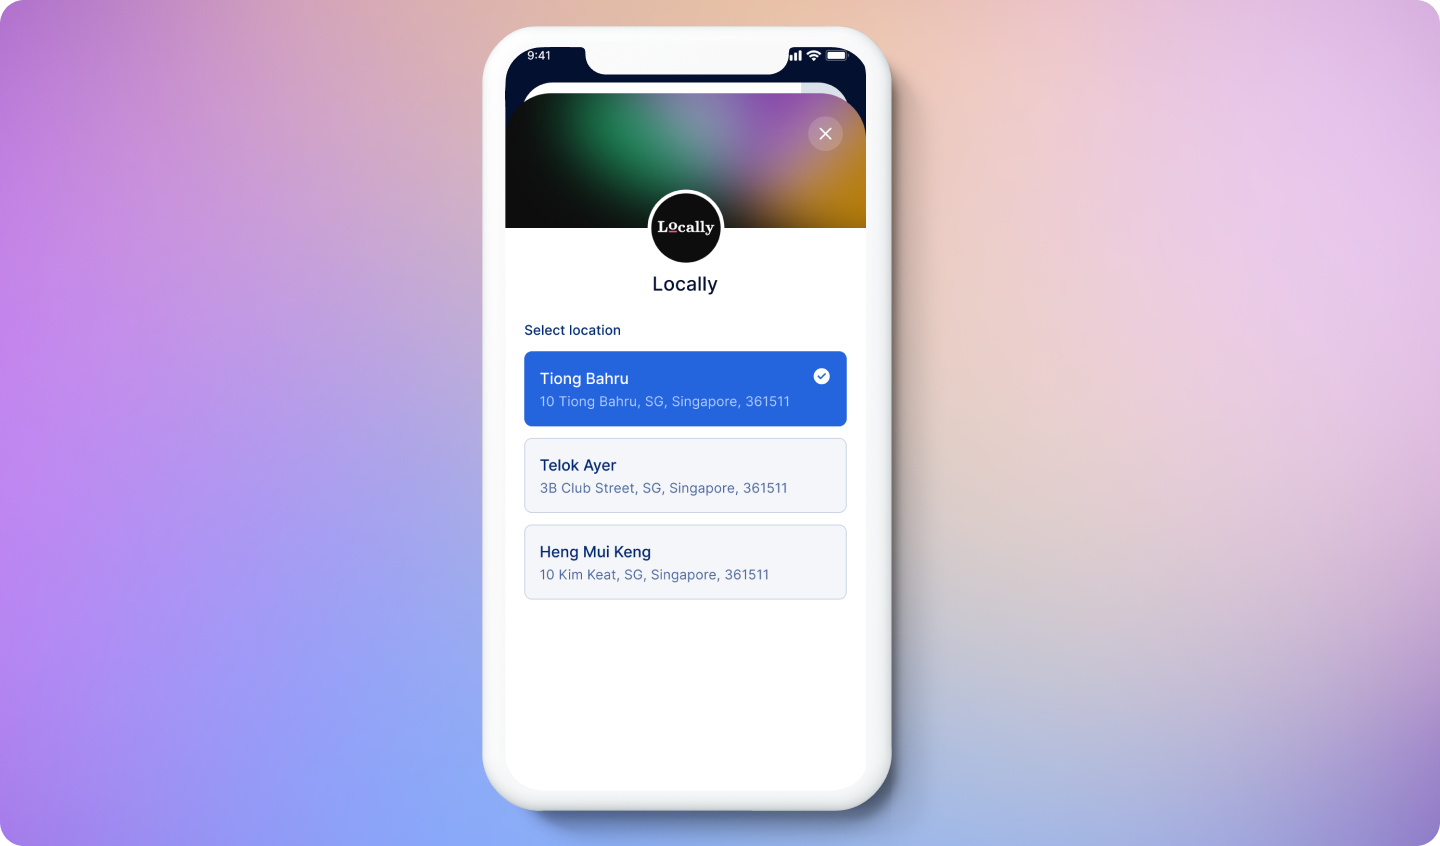 ## Creating Locations on HitPay
To create new locations from your HitPay Web dashboard, navigate to **Settings > Locations** and click the **Add Location** button. Provide a unique name and accurate address for the location and click **Save** to finalize the location creation. Once a location is created, it will be automatically listed under active locations within the **Settings** section.
To create new locations from your HitPay mobile app, navigate to \*\*More > Locations \*\* and click the **Add Location** button. Provide a unique name and accurate address for the location and click **Save** to finalize the location creation. Once a location is created, it will be automatically under the list of locations.
## Assigning Team Members to a Location
You can choose to assign team members to specific locations. This will help manage access efficiently and restrict access to locations these users are assigned to.
Log in to the HitPay Web dashboard and navigate to **Settings > Staff**:
1. Select an existing user to edit.
2. Choose the location(s) you wish to assign the user to.
3. Click **Save** to apply the changes.
Log in to the HitPay mobile app and navigate to **More > Users**:
1. Select an existing user to edit.
2. Choose the location(s) you wish to assign the user to.
3. Click **Save** to apply the changes.
Owners and admins are assigned to all locations by default.
## Adding Location to Transactions
Once locations are all set and users are assigned to these locations, you can further utilize these locations by tagging them to transactions via the HitPay App.
Log in to the mobile app and access the side menu by clicking on the profile display image on the top left corner of the screen, you can see the currently active location below your name. Click the location menu and select the desired location for transactions.
You can always change the active location any time from the side menu.
## Switching Between Locations (for Cashiers)
Switching between locations is convenient and useful for users assigned to multiple locations:
1. Access the side menu from the top left corner of the app.
2. View your currently selected location below your name.
3. Click the location menu and select the desired location.
## Deactivating & Reactivating a Location
You can deactivate or reactivate a location temporarily or permanently.
To deactivate a location, navigate to HitPay's web dashboard and go to **Settings > Locations**. Click on the location to deactivate or reactivate and click **Save** to confirm your actions.
To deactivate a location, go to HitPay app > More > Locations > tap on a location to view details. Click on the toggle to deactivate.
## Deleting a Location
A location can be permanently deleted after it has been deactivated.
To delete a deactivated location, navigate to **Settings > Locations** on the HitPay Web dashboard, click on a deactivated location then click on **Delete Location** and confirm.
To delete a location, go to HitPay app > More > Locations > tap on a location to view details. Click on the "Delete Location" button and confirm.
## Assigning Products to Locations & Channels
For businesses with diverse products, the ability to filter products based on location and channel is crucial. HitPay's feature allows you to precisely assign products to specific locations and channels, ensuring efficient product management and a seamless user experience.
If you are also using HitPay to sell across multiple channels, you can precisely assign your products to be available only from specific channels.
To assign a product to specific locations or channels from the HitPay Web Dashboard:
1. Navigate to **Products > Products**.
2. Select the product you want to edit.
3. In the editing interface, navigate to the **Channels** and **Locations** sections.
4. Choose the desired channels and locations for the product.
5. Click **Save** to confirm your actions.
Now your products will be available only in the selected locations and channels, providing targeted access to customers.
This feature is currently only available on the Web Dashboard
## FAQs
No, merchants are able to create as many different locations as they wish
It depends on the role of the user. Owner & Admin users are able to view transactions across all locations. Managers are only able to view transactions from their assigned location(s). Cashiers are only able to view transactions made under their own account.
Learn more [here](https://hitpay.mintlify.app/setup/user_management#user-roles).
No, currently a user's role is defined on the business-level instead of the location-level. A user will share the same role across all locations.
You might not be able to view Locations if you are a Cashier or Manager. Locations Management can only be accessed by Owner & Admin role users only.
## Creating Locations on HitPay
To create new locations from your HitPay Web dashboard, navigate to **Settings > Locations** and click the **Add Location** button. Provide a unique name and accurate address for the location and click **Save** to finalize the location creation. Once a location is created, it will be automatically listed under active locations within the **Settings** section.
To create new locations from your HitPay mobile app, navigate to \*\*More > Locations \*\* and click the **Add Location** button. Provide a unique name and accurate address for the location and click **Save** to finalize the location creation. Once a location is created, it will be automatically under the list of locations.
## Assigning Team Members to a Location
You can choose to assign team members to specific locations. This will help manage access efficiently and restrict access to locations these users are assigned to.
Log in to the HitPay Web dashboard and navigate to **Settings > Staff**:
1. Select an existing user to edit.
2. Choose the location(s) you wish to assign the user to.
3. Click **Save** to apply the changes.
Log in to the HitPay mobile app and navigate to **More > Users**:
1. Select an existing user to edit.
2. Choose the location(s) you wish to assign the user to.
3. Click **Save** to apply the changes.
Owners and admins are assigned to all locations by default.
## Adding Location to Transactions
Once locations are all set and users are assigned to these locations, you can further utilize these locations by tagging them to transactions via the HitPay App.
Log in to the mobile app and access the side menu by clicking on the profile display image on the top left corner of the screen, you can see the currently active location below your name. Click the location menu and select the desired location for transactions.
You can always change the active location any time from the side menu.
## Switching Between Locations (for Cashiers)
Switching between locations is convenient and useful for users assigned to multiple locations:
1. Access the side menu from the top left corner of the app.
2. View your currently selected location below your name.
3. Click the location menu and select the desired location.
## Deactivating & Reactivating a Location
You can deactivate or reactivate a location temporarily or permanently.
To deactivate a location, navigate to HitPay's web dashboard and go to **Settings > Locations**. Click on the location to deactivate or reactivate and click **Save** to confirm your actions.
To deactivate a location, go to HitPay app > More > Locations > tap on a location to view details. Click on the toggle to deactivate.
## Deleting a Location
A location can be permanently deleted after it has been deactivated.
To delete a deactivated location, navigate to **Settings > Locations** on the HitPay Web dashboard, click on a deactivated location then click on **Delete Location** and confirm.
To delete a location, go to HitPay app > More > Locations > tap on a location to view details. Click on the "Delete Location" button and confirm.
## Assigning Products to Locations & Channels
For businesses with diverse products, the ability to filter products based on location and channel is crucial. HitPay's feature allows you to precisely assign products to specific locations and channels, ensuring efficient product management and a seamless user experience.
If you are also using HitPay to sell across multiple channels, you can precisely assign your products to be available only from specific channels.
To assign a product to specific locations or channels from the HitPay Web Dashboard:
1. Navigate to **Products > Products**.
2. Select the product you want to edit.
3. In the editing interface, navigate to the **Channels** and **Locations** sections.
4. Choose the desired channels and locations for the product.
5. Click **Save** to confirm your actions.
Now your products will be available only in the selected locations and channels, providing targeted access to customers.
This feature is currently only available on the Web Dashboard
## FAQs
No, merchants are able to create as many different locations as they wish
It depends on the role of the user. Owner & Admin users are able to view transactions across all locations. Managers are only able to view transactions from their assigned location(s). Cashiers are only able to view transactions made under their own account.
Learn more [here](https://hitpay.mintlify.app/setup/user_management#user-roles).
No, currently a user's role is defined on the business-level instead of the location-level. A user will share the same role across all locations.
You might not be able to view Locations if you are a Cashier or Manager. Locations Management can only be accessed by Owner & Admin role users only.